Put label badges on your pull request comments
Review comments carry no tone, so readers cannot tell a blocker from an aside. Labels fix that — but only if you also make them visible and cheap to add.
- Published
This article is also published elsewhere. https://qiita.com/iganin/items/aee297eade84849cc9cd
Originally written in Japanese. This is a translation of the same piece.
Introduction
Have you ever been on the receiving end of a pull request comment and been unsure how strongly it was meant? Does it have to be addressed, or is it just an opinion… You cannot tell, so you ask directly, or check on Slack — communication that need not have happened, and that turns into a cost.
This article covers three ways to avoid that situation.
- Put labels on pull request comments
- Render the labels as badges so they are easy to spot
- Turn adding a badge into a command so it is efficient to apply
1. Put labels on pull requests
Many people already do this, but attaching a label to a pull request comment that conveys what the comment means avoids the situation described above. Specifically, you put something like the following at the start of the comment.
| Label | Meaning |
|---|---|
| must | Must be addressed; the merge cannot be approved without it |
| imo | In my opinion — this is how I would implement it, what do you think? |
| ask | Checking the intent behind the implementation |
| nit pick | A small point (tidying code, an unnecessary line break) |
| suggestion | A proposal — how about doing it this way? |
For example:
[imo]
In a switch over an enum, I think it is better to cover every case rather than use default.
That way, when a case is added later and is not covered, the compiler catches it.
With default, an uncovered case just falls through to it,
which can become the source of a bug.
2. Render the labels as badges so they are easy to spot
Step 1 already improves things, but visibility can go further — for instance by using badge images. For the
must label from step 1, you would use something like this.

All this does is embed an image in Markdown.
Written that way, it is converted into the following HTML and the image is displayed.
<img src="https://img.shields.io/badge/review-must-red.svg" title="must" />That leaves the question of where the image URL comes from: shields.io will generate a badge image for you. Badges are built with the following syntax.
https://img.shields.io/badge/<SUBJECT>-<STATUS>-<COLOR>.svgSUBJECT is the text on the left of the image, STATUS the text on the right, and COLOR the colour of the right
half. For the must badge above:
- SUBJECT = review
- STATUS = must
- COLOR = red
Besides the named colours defined by shields.io such as red and blue, hex values like ffffff also work. The shields.io site carries plenty of samples; see the official pages and the references below for details.
A set of labels from step 1 mapped to badge images looks like this.
| Label | Image | Syntax |
|---|---|---|
| must | |
 |
| imo |  |
 |
| ask |  |
 |
| nit pick |  |
 |
| suggestion |  |
 |
3. Turn adding a badge into a command so it is efficient to apply
Typing that image markup every time is obviously tedious, and keeping the text somewhere to copy and paste from is not much of an answer either. Text Blaze solves this problem. It is a tool that lets you register a string to be automatically expanded into a snippet.
Note: at the time of writing it appeared to still be in beta. Note: the free account has limits, such as a cap on the number of groups and registered snippets.
How to use it
A brief walkthrough. See the official Text Blaze site for details.
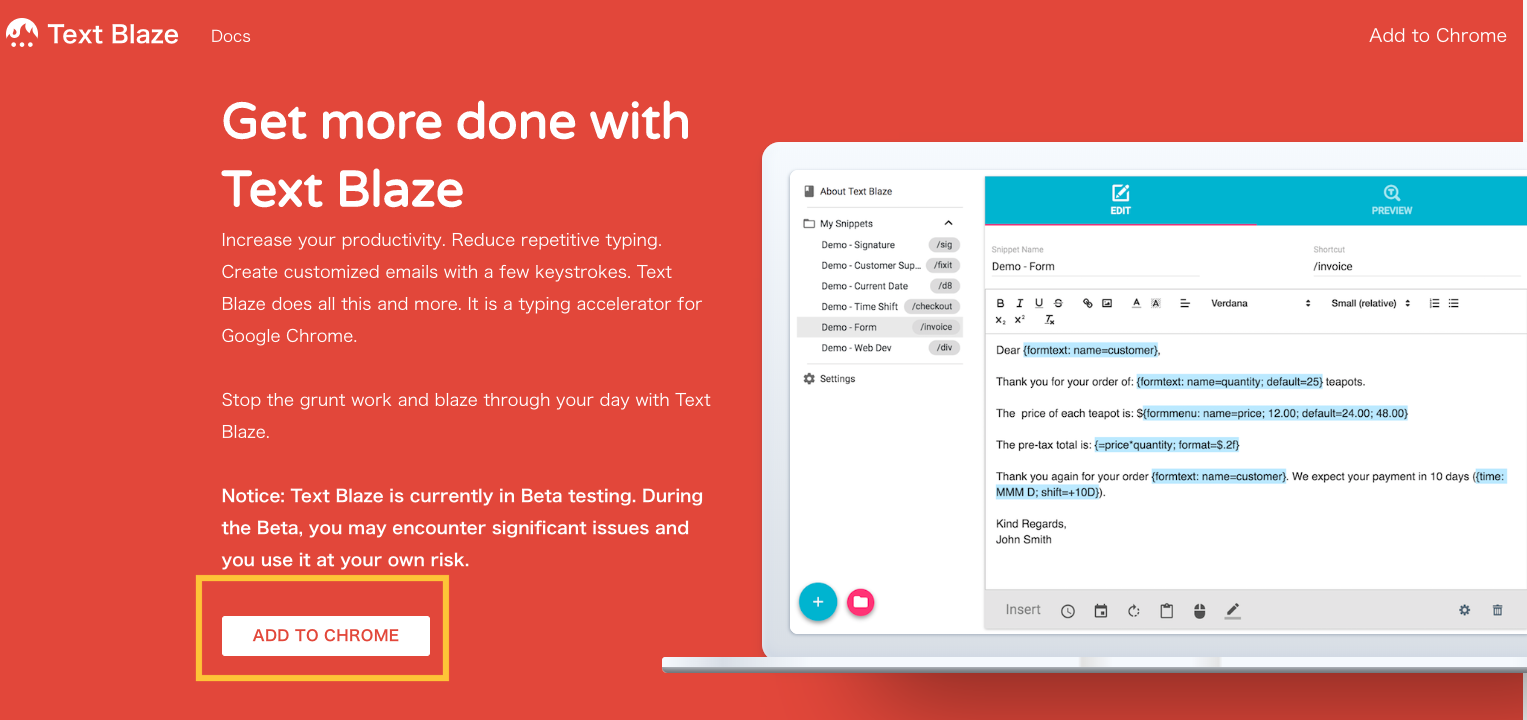
1: Go to the Text Blaze site and press Add To Chrome to install the Chrome extension.
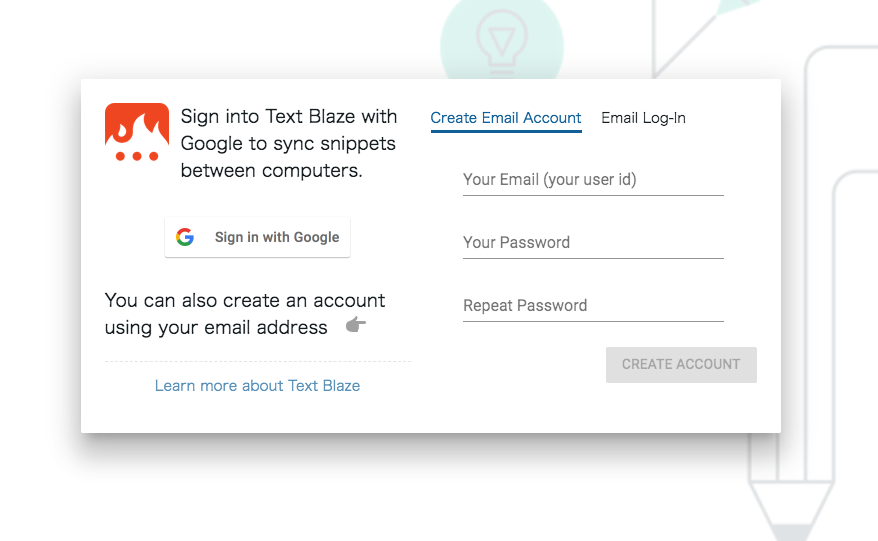
2: Press the installed Text Blaze Chrome extension and either create an account or link a Google account.
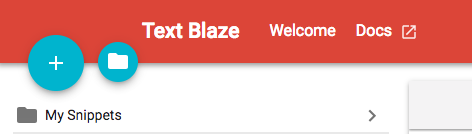
3: From the item at the top left of the home screen, press the folder to create a group, then press the plus button to create a snippet inside it.
4: Fill in the details of the snippet you created.
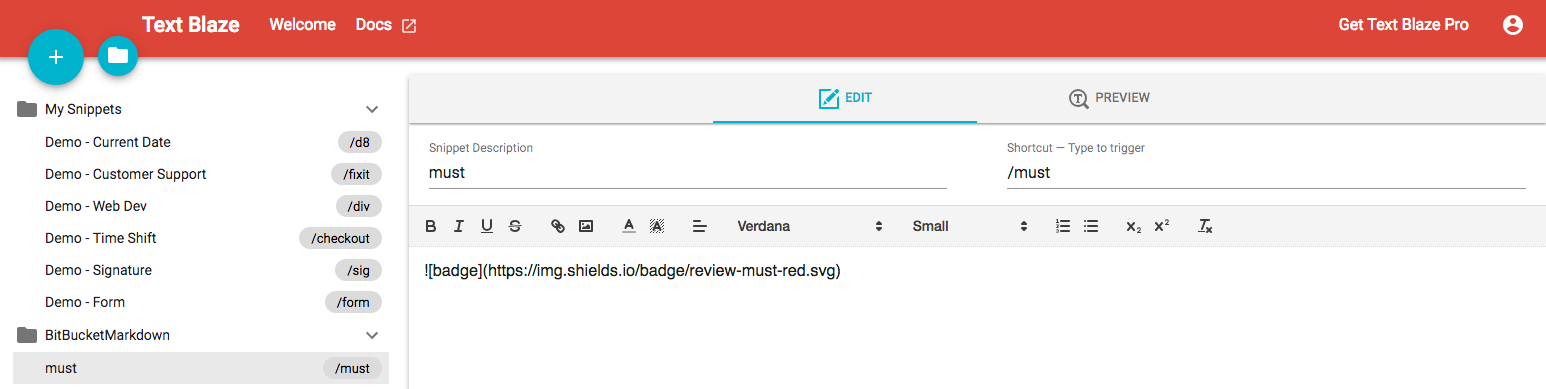
- Snippet Description — the text shown on the left of the screen
- Shortcut — type to trigger — typing this string expands into the registered snippet
- Bottom of the screen — register the snippet that gets expanded
Steps 1 to 4 register the expansion. From then on, typing the registered shortcut string anywhere in Google
Chrome expands it into the snippet. In the example shown, typing /must expands into
.
Summary
This article covered a way to convey tone and nuance on pull requests by attaching labels, a way to turn those labels into badges, and Text Blaze as a tool that makes attaching them cheap. I would be glad if it helped reduce the communication cost around pull requests at all.
Happy coding!
References
On pull request comments
- Just labelling review comments looks like it could raise development efficiency and make everyone happier - Qiita (Japanese)
- On the idea of labelling review comments.
- GitHub: “Let me teach you how to write the perfect pull request” - Qiita (Japanese)
- A useful collection of things to watch for when opening a pull request.
- Comment abbreviations for pull requests - Qiita (Japanese)
- On the meaning of MUST, IMO and the rest.
On making badges
- shields.io
- The shields.io site, with samples and usage.
- Markdown syntax cheat sheet - Qiita (Japanese)
- How to write Markdown — images, code, lists and much more.
- Displaying just about any badge you like via shields.io - Qiita (Japanese)
- How to build badges with shields.io.
On Text Blaze and snippets
- Tagging pull request comments to convey intent - Qiita (Japanese)
- Covers Text Blaze and badges.
- Text Blaze
- The official Text Blaze site.